
 |
Building my Warehouse Set
O.K. , its that time again for another guide to how I built something. This time it is my Warehouse set that I have been posting a few pics from. First of all I got me a few pieces of Black Foam Board.
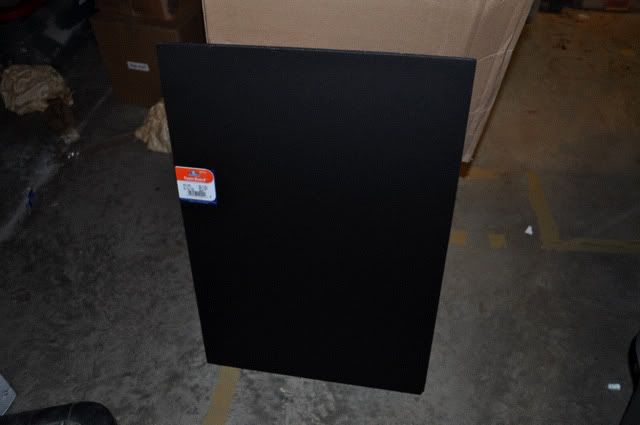 Cut a few one piece in half with one being a full wall. I used one of the Half pieces to be my side wall. Hot Glued a Piece of wood to it to use as support once I Put them together. 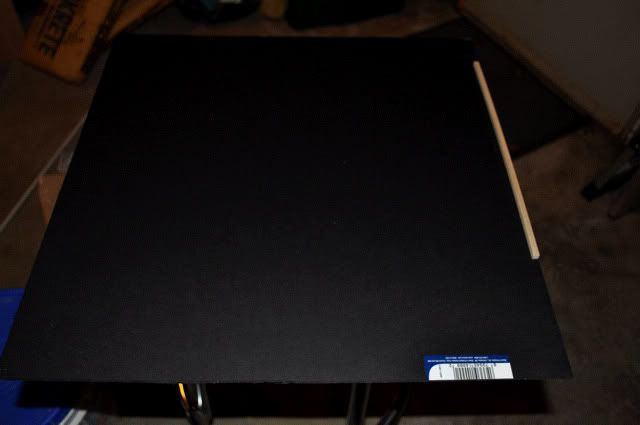 Then I cut out a couple widows and Glue a couple pieces of scrap wood a bit under that to make my Second level walkway. ] 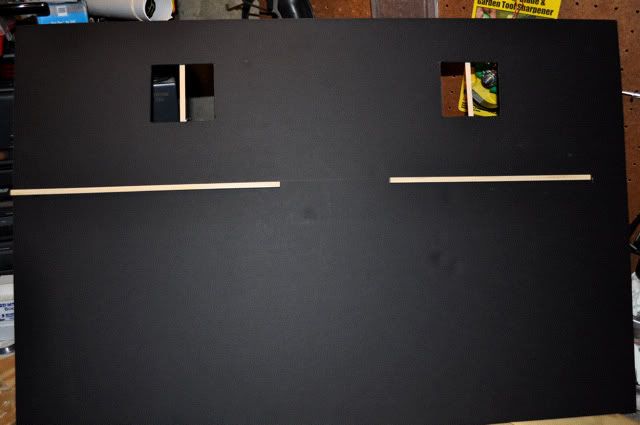 I decided that I would not have the wood brace go all the way across so that I can build a ladder to go up the wall later. |
From here I cut my walk way. As I did not have a piece long enough after I had cut up my pieces I used a couple scraps to make it work. Measure Twice, cut once and and they are exact copies of each other.
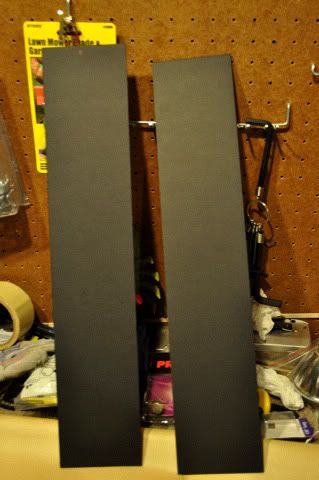 From here I Glue them to the wood supports that I glued on earlier. I then take wood dowel that I saved from the trash at work, paint it silver to add a bit of contrast and glue then to support the second level. 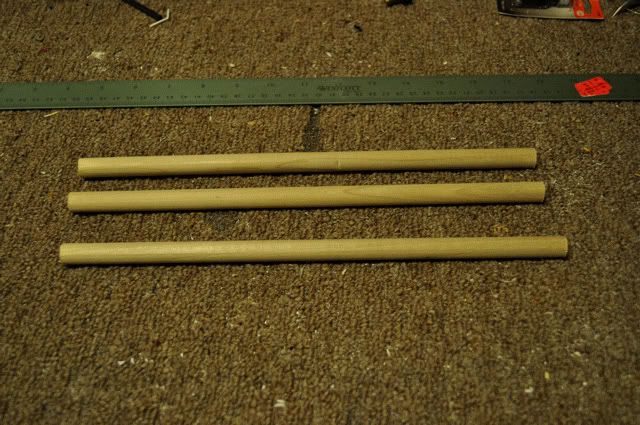 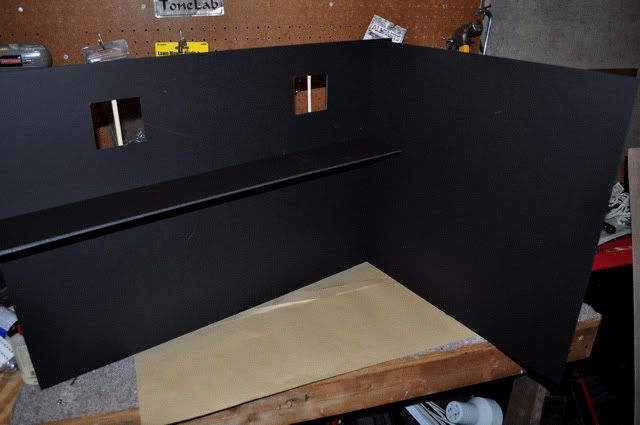 |
I now create my Ladder to the second level. I cut an opening and then ran some wood up the side. Cut a bunch of 3 inch wide strips and started gluing them on.
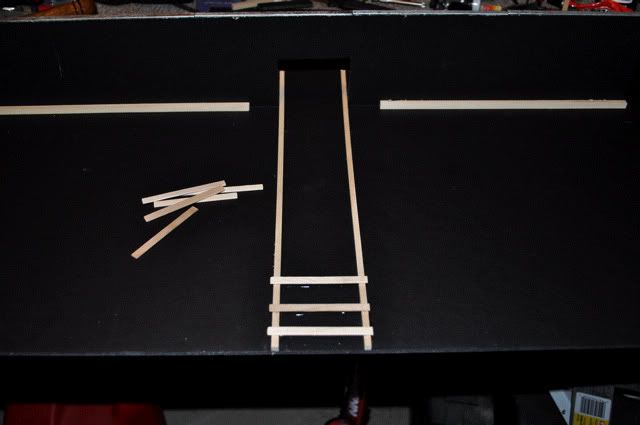 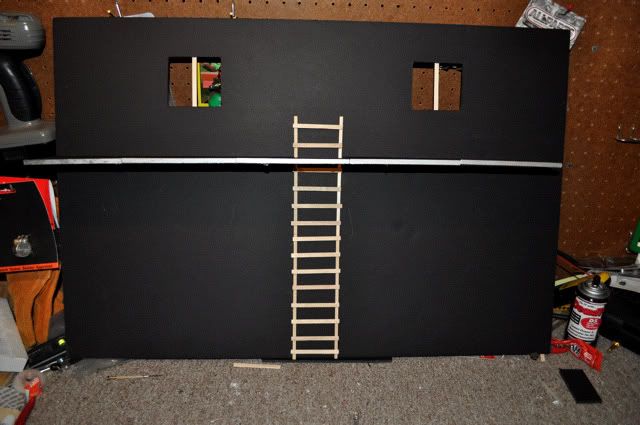 With my dowels paint dry I glue them on and have a supported second level. 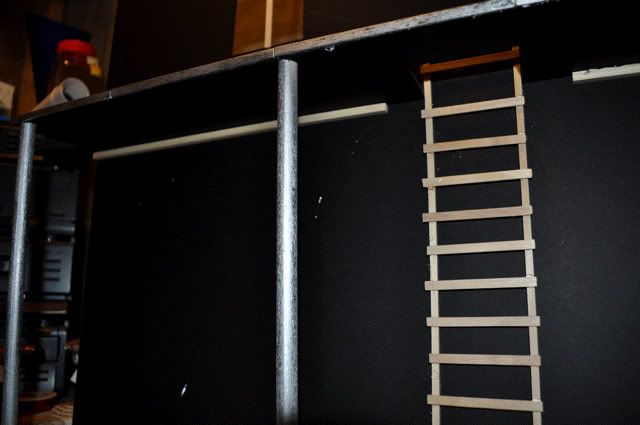 I then cut out a Garage door. Glue a couple pieces of wood up there to create a guide so it looks to support itself (even though it will not when in the fully closed position and painters tape works wonders for pics as it removes easily). 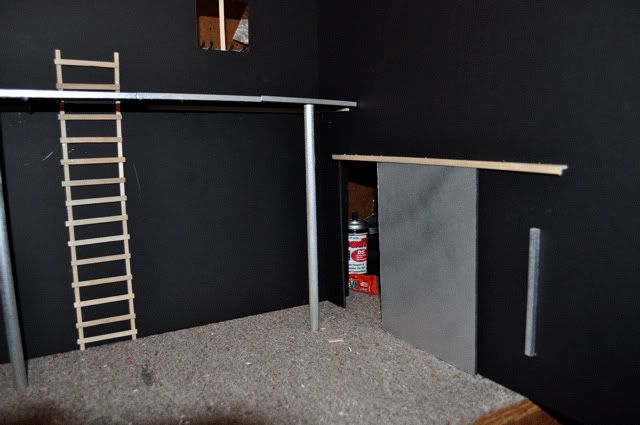 |
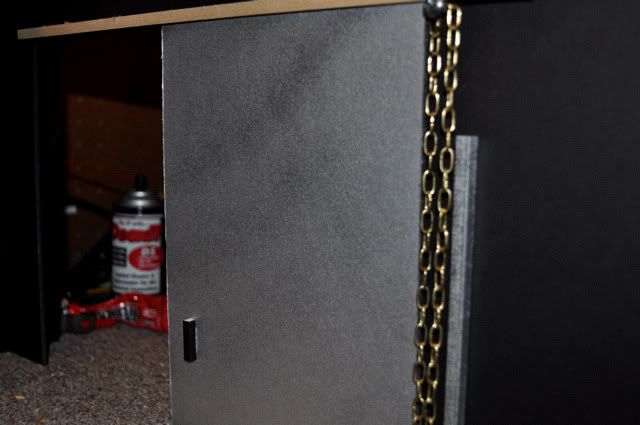
Now I test the door and add a chain that i cut to size. This is where keeping every bit of stuff around that you might one day use really pays off. This chain was off a junk Necklace of my Wifes that she was throwing away a few years back. I took a screw out of the work bench, put it thru the foam core and layed the Chain over it then touched it with a bit of Hot glue to keep in place. This to me added that one piece that gives it the Garage touch.
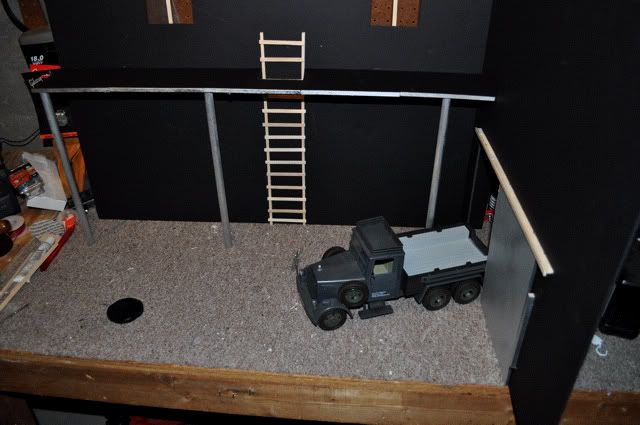  I now take a couple of the bigger pieces of wood I got from Joan's Fabric and run them across my 3rd piece of Foam Core board. Again with a bit of Hot Glue and it came together nice. They hang a bit over so that I could have the roof hang over the back to add counter weight as it is a two sided set. This creates a bit of background texture that it needed as I did not want to just set the foam core on top as a roof. 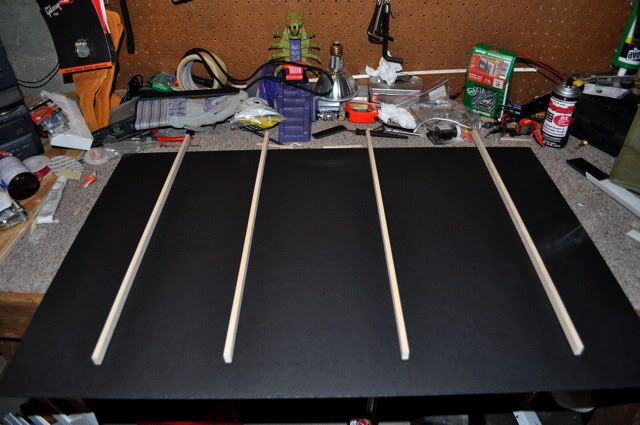 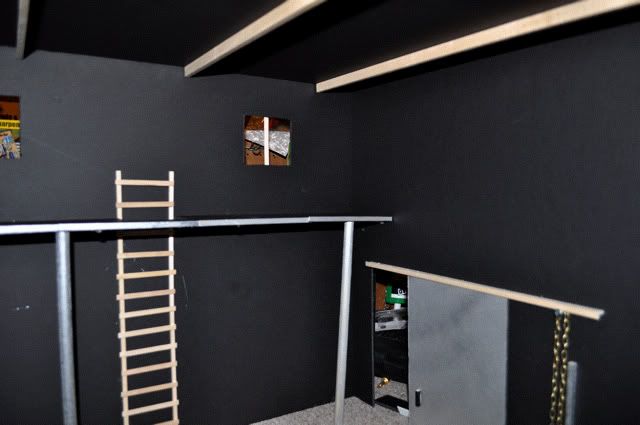 |
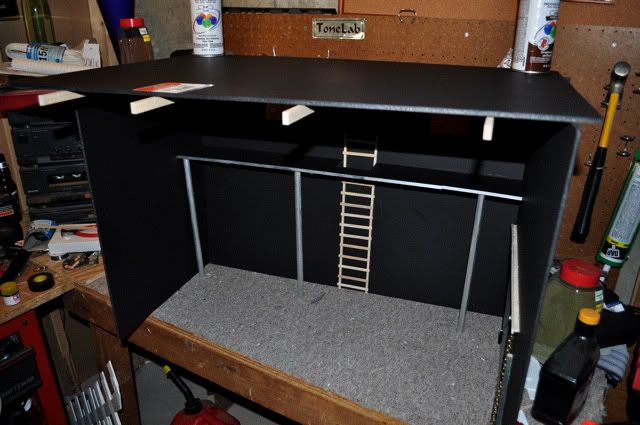 From here I added some guide rails for the second level. Again just extra Balsa wood that I had got. Measered it out and glued it in place took about 5 minutes total. I painted the wood first to add a bit of color as I was realising that An all black set was going to be very hard to photo.  From here all it took was adding a floor which is a tannish foam board and background stuff. I added a few of my pallets I had built. a couple Crates and the Tool Chest pieces I had picked up a year ago at the hobby shop. The roof is able to be taken off for photo's but as I knew I would be doing a couple up shots to get the scale of the 12in action figures I knew a roof was needed. 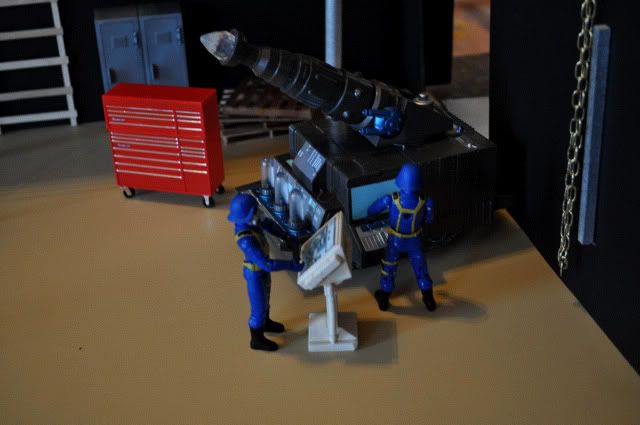 Some may notice that the Support pole is right were the door is and makes it a bit hard to use the door. Well, the door was a bit of a last minute part of the set and not in the plan. I had cut it out by the time I was ready to proceed and did not have any extra Foam core to fix this. In the end it really does not matter as I will not need to use the door that often and its just background of a set. The characters are what matter to me. I hope this helps someone or gives an idea or two to somebody. Its not the greatest set but is exactly what I needed. A set for about 20 pics that would be easy to use and photo, and cheap. I have about 15 bucks in it as I always bargun shop for this stuff and try to salvage any "Treasures" from the trash at work that I can. |
Again, a nice work. Can't wait to see it finished and full of action figures. :)
|
you'll be able to do a ton of stuff with this...awesome!
|
Thank you all. I can not wait to show you all some of the pics that I have taken for my next Dio Movie using this set. I have shown a couple in the past week but The story is working out to be bigger then me and my partner in crime had originally planned on. Anyway, I will be premiering the story at Movie Night at Joelanta this year with the story up on the web shortly after that.
|
*takes close look at the raised walkway* :D
|
Any update? :)
|
If your asking about the Set, I will show some more pics at the end of the month but I do have a couple I might put up before then as they are not used in the movie. As for Updates on my Dio movie, Well, The Pics are all taken now. We have recorded all the Voices and I am in the process of adding the sound fx. Then putting it all together in the next week. I have till the 26 of this month to finish so I have been working crazy to finish it. Now this is going to be more for laugh's then anything else as far as we are concerned. Hopefully others will find humor in it. After that, we are already thinking about the project. Probably a serious WWII 12" project followed by a serious ARAH project. This all started as a comic book we were going to put together and expanded into a still photo DioMovie project and now a Series of Projects that we are talking about. Hey, Keeps us out of trouble.
|
| All times are GMT -7. The time now is 05:33 PM. |
Powered by: vBulletin Version 3.0.6
Copyright ©2000 - 2025, Jelsoft Enterprises Ltd.