
 |
Creating a ruined brick wall!
I was asked on JBL a year ago to do this tutorial but im lazy, aka i have a kid, a happy wife and two jobs! lol but here we go. This tutrorial will be linked to my flickr just because it is alot easier to do it that way hope that alright! this will probably continue for ever so keep checking back and enjoy! enjoy any questions let me know! cheers! Dreadnok Dread!
http://www.flickr.com/photos/258165...57623083335050/ 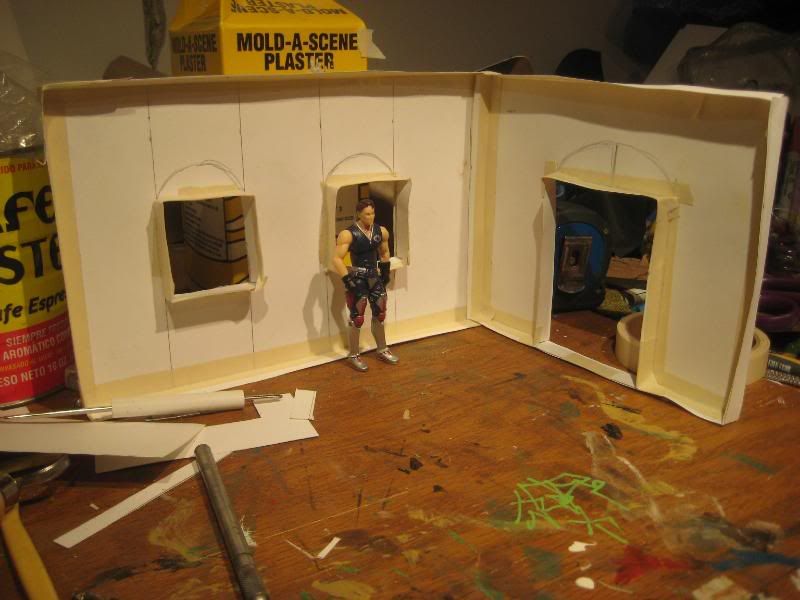 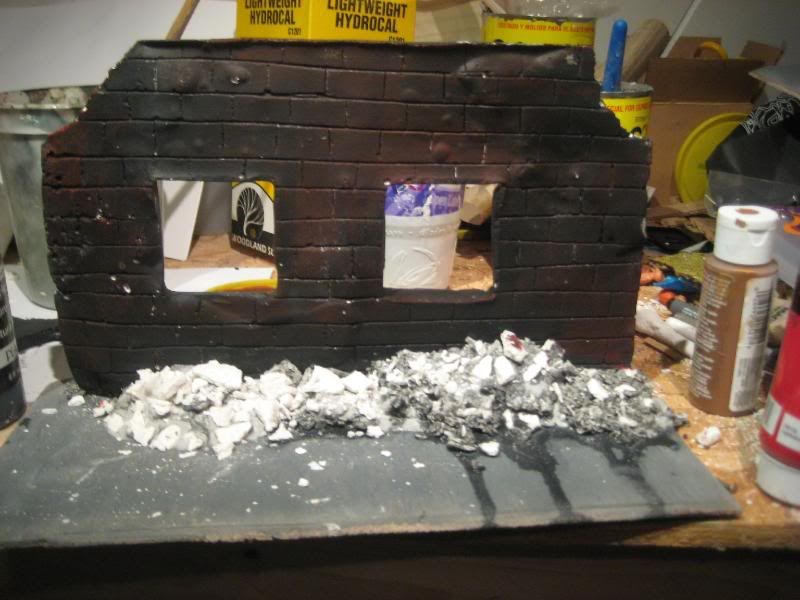 |
Nice job
|
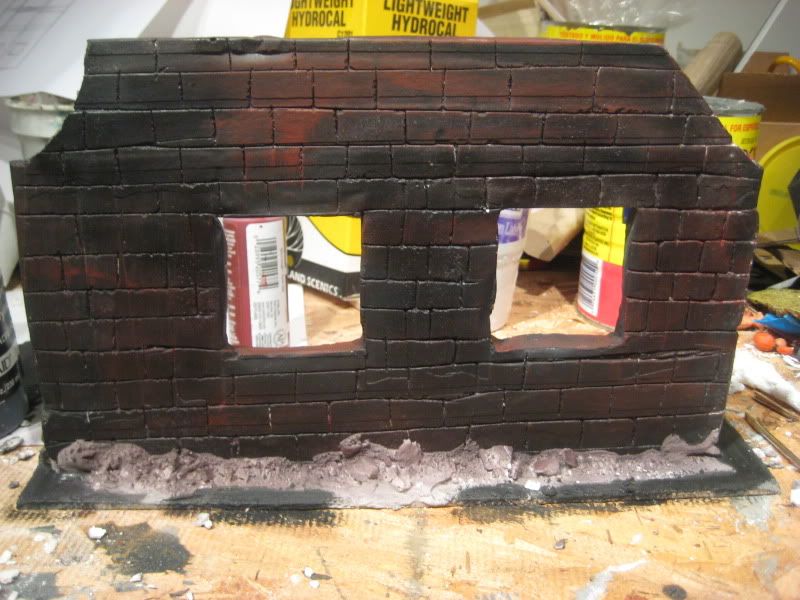 started painting/airbrush the rubble. Dry brushed the walls a little more! 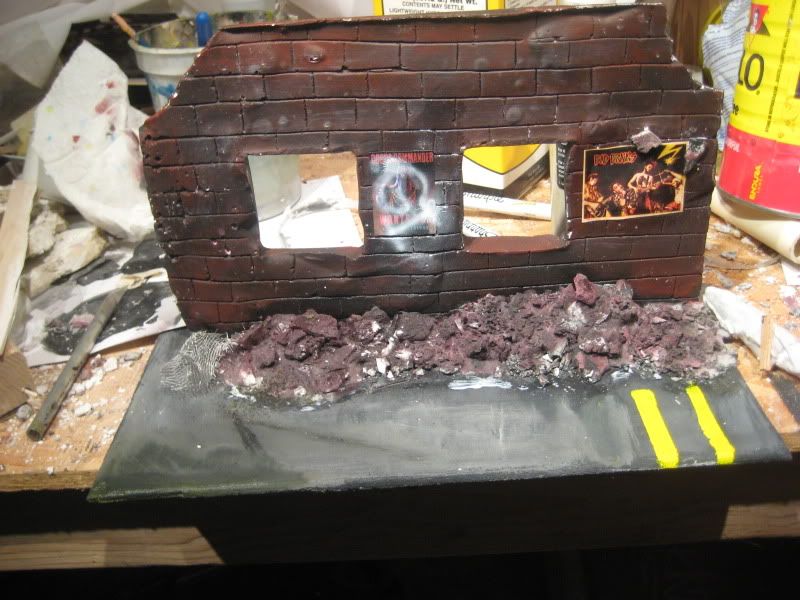 Dry brushed some more and added posters and graffiti! 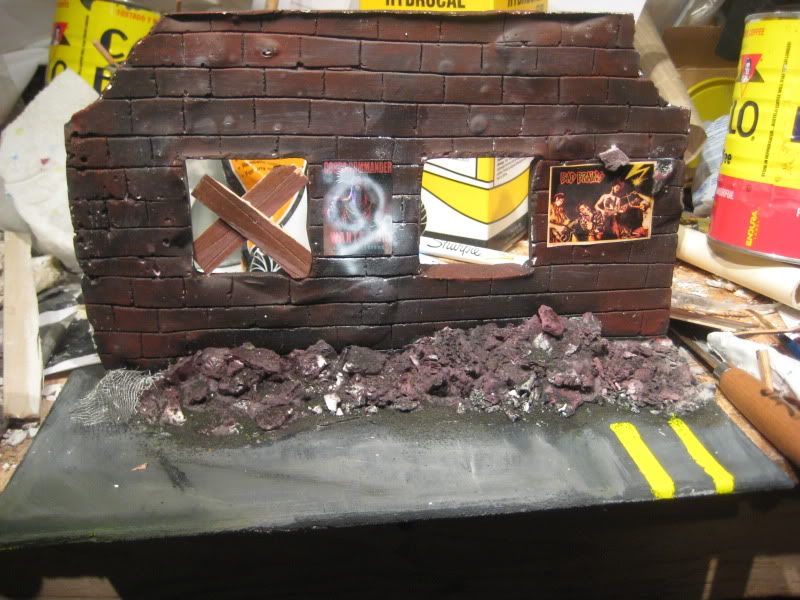 wood to the windows! 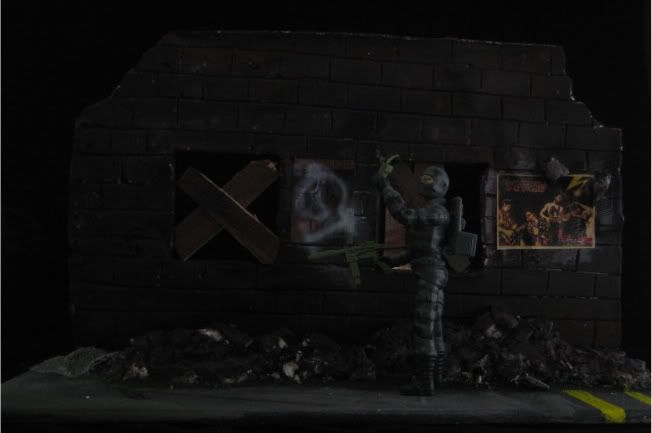 I still think it needs something! Im on to the second part of the sets! sneak peak of the three wall set! this by no means means that I am done with the first! I always keep adding on to the sets as I go! 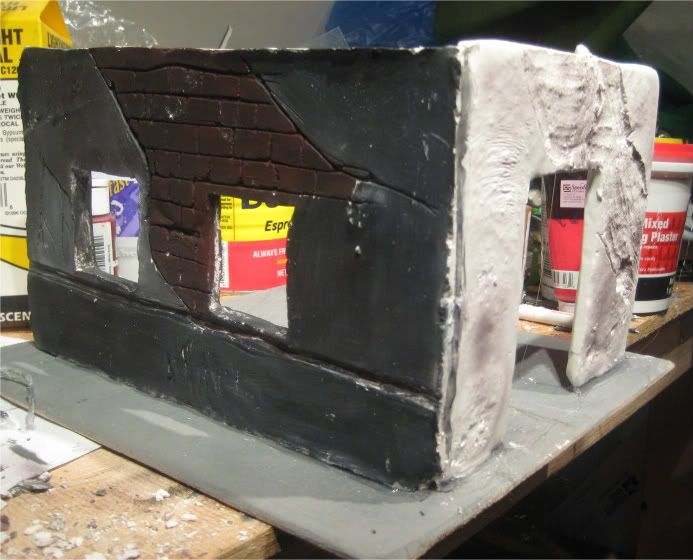 |
very good job over there
|
Excelente hombe.
|
Can't believe you CARVED the brick! I woulda thought using miniatures housing shingles would work too. BUT the shingles might be too smooth and not textured enough. Hmmmmmm... interesting idea.
|
Quote:
yeah the bricks are carved! if it looks carved it probably was! hydrocal stays kinda soft for about 12 hours after casting. its good for textures and carving! heres some more pics of the second sets!  I like to attach the corners with hot glue and add creamy thickness hydrocal over the corner joints! this way it look like plaster or dry wall.  this set includes three walls of a bombed out structure. this is before the grey and black primer and then the dry brushing. enjoy guys hoped this helped! thanks for all the comments! cheers and happy new years! |
this is really neat to see the work behind the "wall"
this will come in most handy |
very good !
|
Great job!! any updates?
|
| All times are GMT -7. The time now is 01:45 PM. |
Powered by: vBulletin Version 3.0.6
Copyright ©2000 - 2024, Jelsoft Enterprises Ltd.