
 |
Building a de-forested landscape
I started this project by looking at photographs of deforested rainforest and other areas, and even by looking into the few patchy areas in my garden, trying to get a feel of how vegetation and trees and dirt all interacted and separated when deforestation occurs.
The materials I used were the following: MDF board Fibre board Newspaper (lots of!) Cardboard Masking tape Plaster-cloth (also known as ModRock, ArtRock or plaster-netting) Tepid water Woodland Scenics clump foliage Hornby Skale Scenics scatter, shrubbery and ballast 1) I placed the MDF board flat and screwed the fibre board to the sides and enclosed the structure. I then scrunched up the newsaper and arranged it in the shapes that I wanted, to make uneven landscape. Using the cardboard, I sculpted the road in-between the rockfaces and the cliff on the end. I also used cardboard placed on top of graduated rolls of newspaper to make the slope in the road at the side. In the following images, you can see that I made some lower land, with a road beside it leading to higher land, with the road cutting through raised rock verges on either side. A sheer cliff lies to the other side of the higher bit of land. 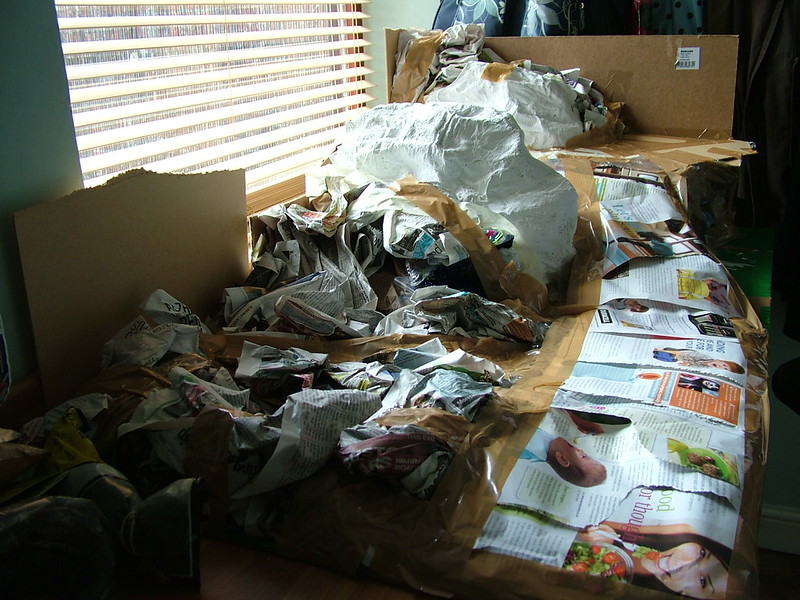 |
2) After securing all of the newspaper and cardboard with masking tape, I filled a bowl with warm water and used cut lengths of plast-cloth to cover the landscape.
 3) I covered the set with four layers of plaster-cloth, smoothing over the patches and perforations that were visible. I ensured that the water was kept warm by using freshly-run water every once-so-often, whenever there was a build-up of plaster in the bottom of the bowl. This ensured that the plaster-cloth dried was well soaked and workable. After completing this stage, I left the model to dry fully for 24 hours.  4) After drying fully, the plaster was very hard to the touch. I then set about painting the model with a combination of browns, greens, dark reds and greys, all acrylics. The undercoat could be acrylic or regular emulsion, since the set is quite large and cheap emulsion will do for undercoat. 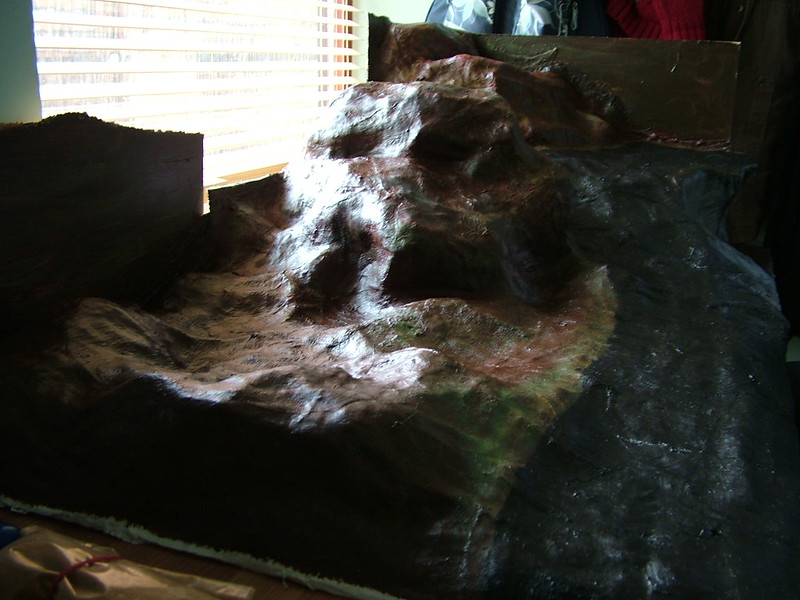 |
Very nice, potential to look like Okinawa after the Japanese defeat.
|
Exactly!
|
!
Well done!
|
5) Next, I sprayed the surface of the model with diluted PVA glue, and sprinkled the grass scatter over the glue-sprayed parts. I mixed together different shades of scatter, as real grass is more than on colour. Next I used fine ballast to create the road surface. Same as with the grass, I sprayed diluted PVA glue over where the road was going to be and sprinkled the ballast over the area. After it all dried overnight, I up-ended the model and gave it a gentle shake to lose the excess sprinkle. The excess could be saved for later.
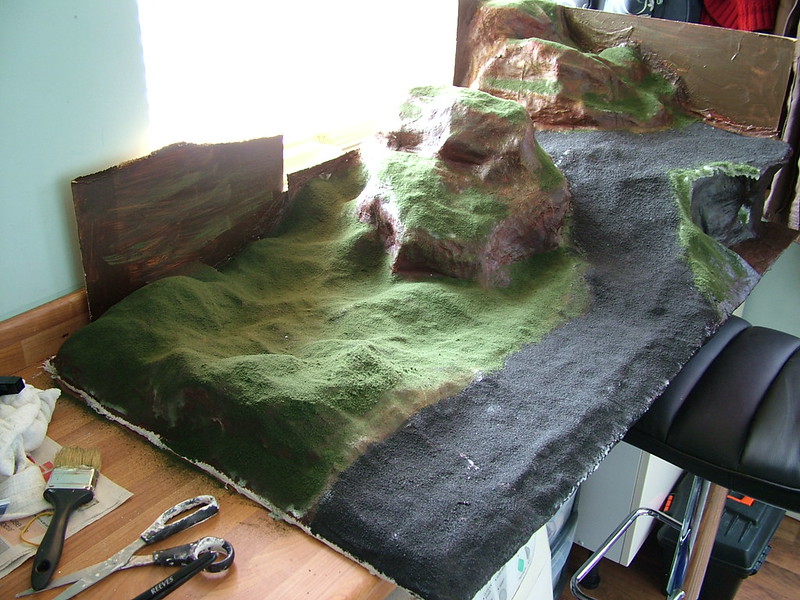 6) I then added the excess to bits of coarse scatter here and there to highlight certain areas. By this time I was curious as to what an action figure looked like in the set. Here you can see an Ugha warrior on the grassy area. 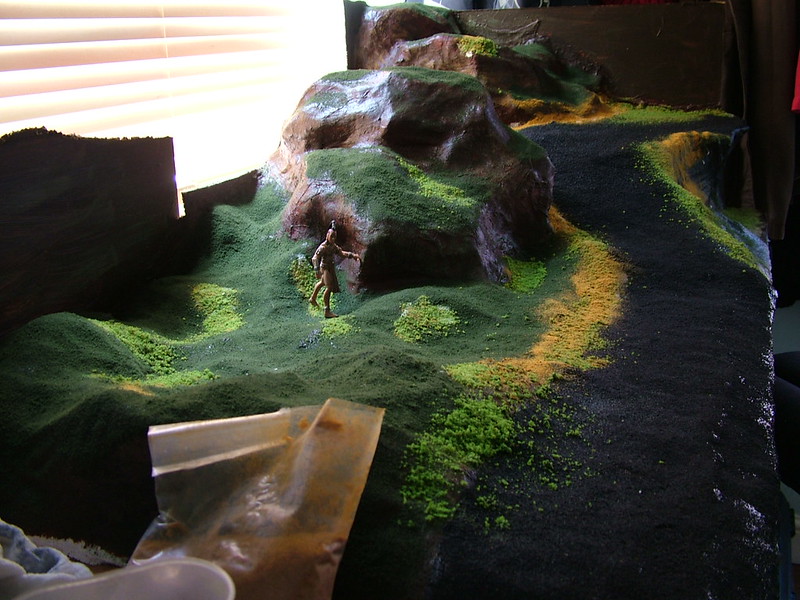 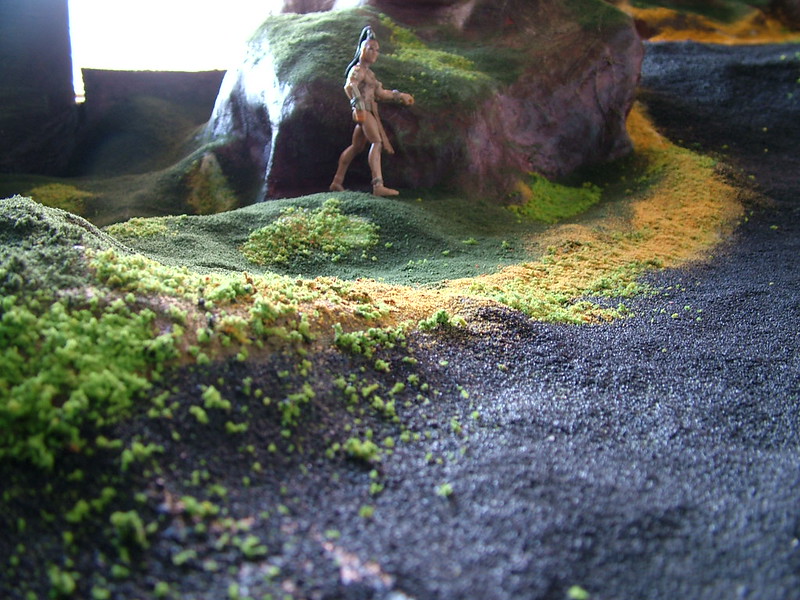 |
7) Next, I glued some Woodland Scenics clump foliage and Hornby Skale Scenics shrubbery to parts of the model, both to create height and depth to the landscape, and also to create opportunities to depict different scenes in my photography. For example, I could have someone hiding behind some shrubbery, and create different angles and compositions to tell the story. I think one of the things I wanted to do was to be able to condense several things into one set, so that I could get the most from it.
 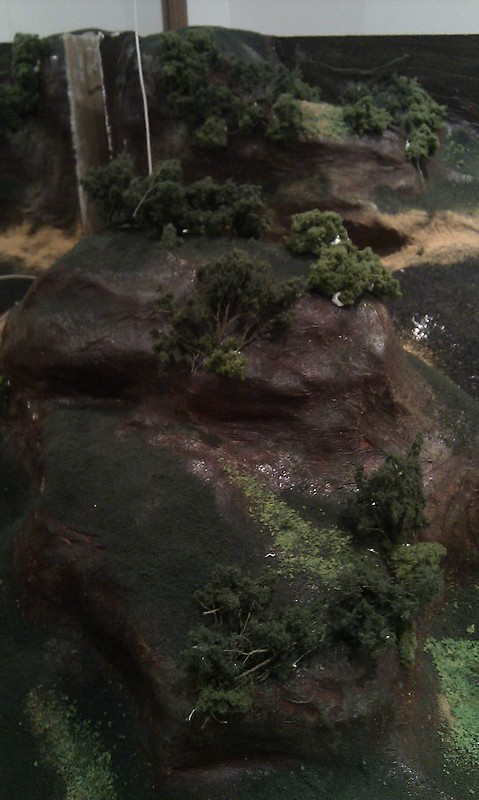  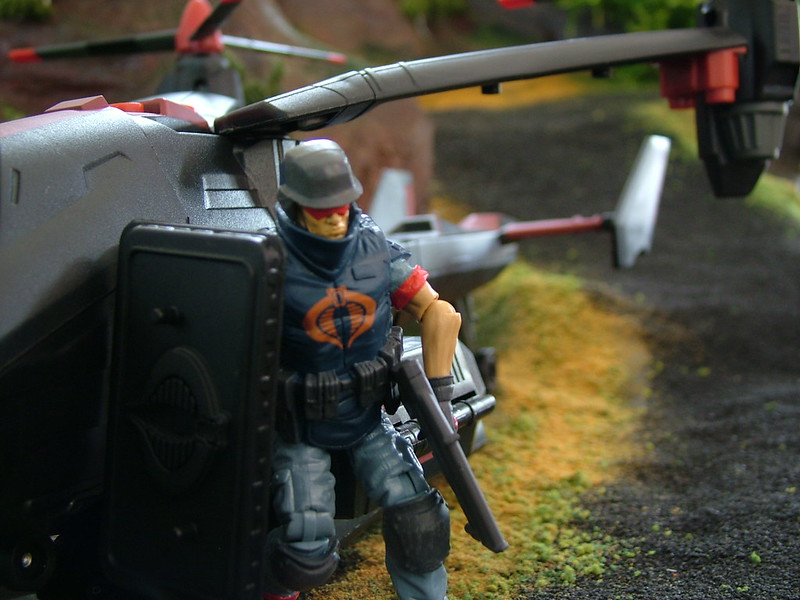 One thing I realised after making this, was that there are ways to make my own clump foliage, using shredded foam sponge, paint and a blender. I hope to try that someday when I have a blender to "spare". |
8) Now for the flat landscape parts. For this, I used the following:
2x MDF boards Cardboard egg carton (12 egg size) PVA glue, diluted Plaster-cloth / ModRock / ArtRock / Plaster-netting Tepid water Grass scatter Thick acrylic paint (browns, greys, yellows, earthy colours) Newspaper Toilet roll 9) Firstly, since this is a deforested landscape, I needed to make a load of tree stumps. So, I cut up the egg carton into the individual egg compartments, turned them upside down and glued them onto the MDF boards in random places. Next, I used wet plaster-cloth to cover the egg carton pieces, and also to sculpt the roots spreading out from each stump. As before, this took four layers of plaster-cloth to make a really good, solid sculpt for the stumps.  10) To make a large tree stump, I cut an empty toilet roll in half and stuck the two pieces together to make a wider circle shape. I stuck that onto the board, covered the top with masking tape, and plaster-clothed the shape, making roots spreading out from the stump. 11) Next, I did the same work as on the first part of this set: I painted undercoats in dark, earthy colours, then sprayed the whole surface with diluted PVA glue. I then sprinkled combined scatter onto the surface. I was not so liberal this time, as the ground was supposed to look like the grass had been scraped away leaving patches. I used different coloured scatter to do this. I also created a makeshift "road" created by the back and forth wheel movement of big trucks, bulldozers and other works vehicles, to make it look like it was an active area of deforestation. To do this I used the thick acrylic to paint a dirty road, and went over it with a wheeled vehicle and a treaded vehicle before the paint dried to leave some track marks in the paint. Lastly, I added some shrubbery in one or two places.  12) Here is the finished piece, above, and the set with vehicles and figure on it, below. The whole set is three 4ft x 2ft boards across.  I hope this has been useful. I really enjoyed making this, and I became more confident in what I was doing as time went on. |
This all looks awesome. Thanks for sharing.
|
Awesome work! Model railway scenery techniques work really well for dio building.
Not sure if you did this, but here's an extra tip: when diluting the PVA glue, add a drop of dish soap to the water. This breaks the water's surface tension and lets the glue mixture soak into the scenery material more thoroughly and locks it in place better. :) |
| All times are GMT -7. The time now is 10:31 AM. |
Powered by: vBulletin Version 3.0.6
Copyright ©2000 - 2024, Jelsoft Enterprises Ltd.