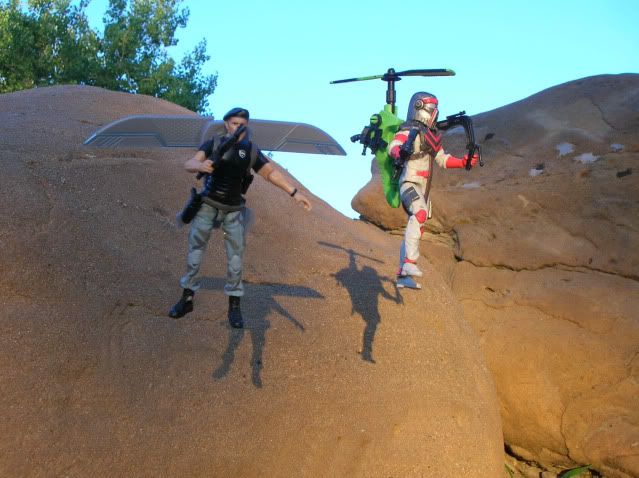
Next is the wire hanger technique. This works best for helos and low flying fixed wing aircraft as well as flying people. No, not like Superman...well, OK, yeah, like Superman, but not. Does that make sense? Yeah, didn't think so. Just go along with me on this one.
You'll need a wire hanger or two and a pair of dykes. (Insert crude lesbian joke here). You'll also need some softer ground for this one.
I'll start with heavier planes and helos first. I took two hangers, cut the hook part off using the dykes and straightened them out. I then put two 90 degree bends in them so now they're shaped like a square that's missing a side, or a squared off letter "U." Take the two ends and drive them in the ground at least an inch or so. Then take the second hanger and drive it into the ground about the length of your aircraft away from the first one. You want to try to get the hangers to be at the front and at the back of the plane.
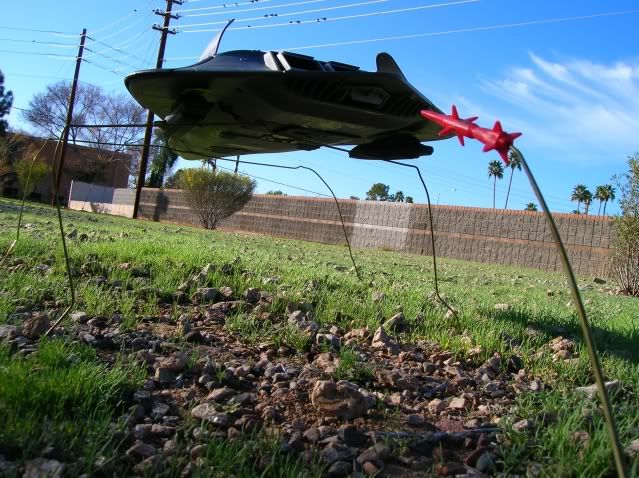
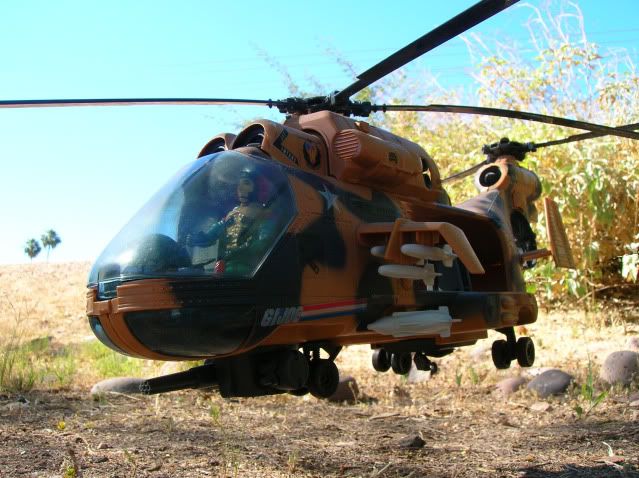
The Night Attack Chopper is very heavy, so it'll need two hangers, as will the Phantom X-19. The Tomahawk doesn't really need two for weight, but it'll need it for length. Once you do this for a while, you'll see what you can get away with. I've used one "U" shaped hanger and one just short bent piece of wire to hold a Tomahawk in place. Using at least two wires is ideal, just for the stability of the plane. Using one "U" shaped wire and the small piece of wire on the Tomahawk gave it a three points stance on the ground and it wasn't going anywhere.
Now comes the slightly tricky part that you will adapt to over time as you use this technique more an more. From what angle are you taking the shot? Is it an upshot, a side shot, a down shot? The important thing to keep in mind here the placement of the wire hangers so they don't interfere with the subject.
Essentially, the less editing you have to do to the picture, the better off you are. If a small portion of the hanger crosses your line of site to the subject, that's fine, but if it goes across the wind screen, a figure's face, the landing gear and the ground, that's a lot more editing that'll have to be done. I try to use the hangars with a wide stance so that if I'm taking a closer up shot of the subject, the hanger goes out horizontally away from the subject and then out of frame rather than coming from the subject a bit then bending towards the ground. Again, less editing on my part.
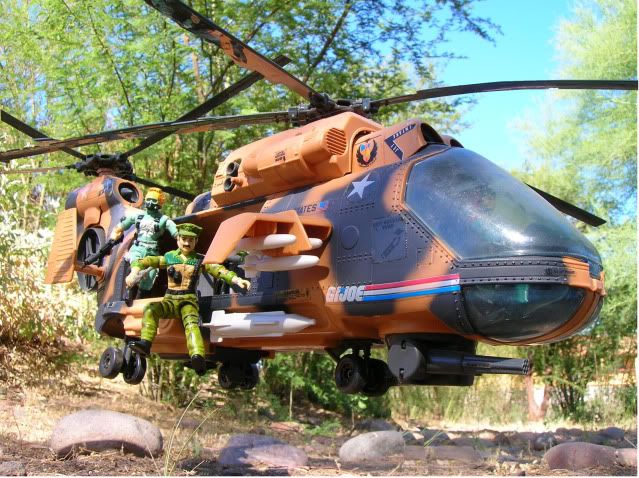
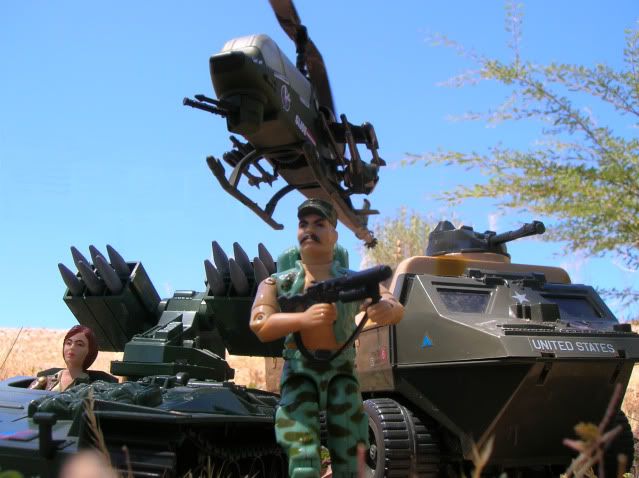
Using the wire hanger trick, you can make things other than helos and airplanes fly. "Like what?" you may ask. If you haven't asked yourself this, please do so now, and wait for a response. You might be interested in what you have to say.
One of the iconic images of G.I.*JOE from the beginning, especially when it comes to Stalker, is the jet back. Since the jet pack is something that can be shot low to the ground, the hanger trick works well. Same with Matt Trakker's helo back pack.
There are two ways of doing this for a figure. One is to straighten the hanger out, put one end in the ground and put the outer end into the figure's foot hole. This takes patients as you have to balance the figure just right on the tip of the hanger. It may take a few tries. The other, more effective technique is to put a 90 degree bend into the hanger about 3/4 of inch from the end and using this small bent section, form a "U" shape. This acts a kind of clip in which you can slide the figure's ankle. It holds him a little steadier. One thing to keep in mind with using either one of these techniques is that the knees and hips need to be fairly tight since the figure is placing all of it's weight from the hip to the knee to the hanger.
