OK, now the moment you've all been waiting for..."How on God's green Earth do you get those awesome rotor movement shots?!?!" If that wasn't the moment you were waiting for, go sit in the corner and play quietly until this section is over.
This is probably the HARDEST, MOST DIFFICULT and NOT EASY thing you can possible do for a perfect helicopter in flight shot.
Are y'all ready for this? (insert cool techno song here)
You spin the rotors by hand.
Honestly.
That's all there is to it.
Just spin those suckers like you did when you were a kid playing with these things.
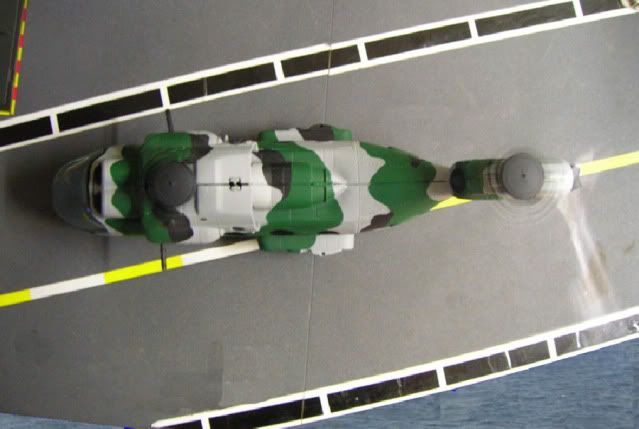
So far, I have found that the rotor blades of the NAC, the Dragonfly, the FANG, the RHINO's helo and the bbi MH-6 Little Bird all spin very freely. The Tomahawk...not so much. I think that has more to do with the weight of the rotor blades pulling down on the hub and there's a lot more surface area to cause friction there. I'm not saying it can't be done, it's just a lot more difficult. I did manage to get one picture of my custom Tomahawk with the rotors spinning and it took a few tries as you have to spin both, pick up the camera, frame it up and take the picture.

As I said, this is very simple, but here's where you need to take a bit of caution. Again, referring to my recent FANG shot. The FANG was precariously balanced atop that thin hanger. The first time I spun the blades, it caused the hanger to fall over, so I had to hold the FANG in place, spin the blades and then try to take the picture. Usually I can get the blades spinning and get about three or four shots before I have to spin them again.
After you spin them, give them a moment to slow down. It makes for a better shot as you can see the blades in you shot with the blur motion. Take note of the above custom tomahawk's rotor spin. I didn't let them slow down before I go the shot and they're barely noticable.
This spinning technique is why you can't use the fishing line/string method for shooting aerial shots of the helos. Since the string would most likely be connected to the top of the rotor, you wouldn't be able to spin it.
So...now you've got your airplane or helo or jet pack or Karate kicking ninja all set up on their wire hanger, lookin' flawlessly in motion and totally awesome. Now, take your picture. Click...perfect...there it is...oh, but what is that stupid looking piece of wire hanger doing in the shot? It totally ruins it! This is where your editing software come in. Since all photo editing programs are different, I can't elaborate too much here, so I'll tell you what works for me on Picasa and the Adobe PhotoDelux.
On something as simple as the FANG picture, I used Picasa to edit out the hanger and the piece of wood. There is a "touch up" tool to use. Move your circle cursor to an area next to the wire and click the mouse. This, in a way, sucks up what ever is in the circle. Now move the mouse over the top of the hanger and click the mouse again. This deposits what ever you sucked up over the top of the hanger. You want to take parts of the back ground from right around the object to be covered so the backgrounds match. This is a lot easier the "busier" the background is with foliage or dirt and rocks and it will blend in better.
Using the PhotoDelux, I use a cloning tool. Again, starting at a point right by the object I want to cover so the back ground matches, I clone over the hanger to make it disappear.
Where you need to watch using these tools is when you come to straight lines like tree branches or the edge of your plane. If your clone alignment is off the slightest, the lines will be off and noticeable. This takes some practice and some fooling around. You'll probably have to have a few goes at it before you can get it right. Thankfully, that is what ctrl Z (the command, not the photographer) or the undo button are for. Usually your changes will be small enough that they won't really be noticeable. There are a few shots I've taken where I know where the edit is and I can't find it.
While I prefer shots of my aircraft to be real and where they are, I will use a superimposed shot from time to time as well.
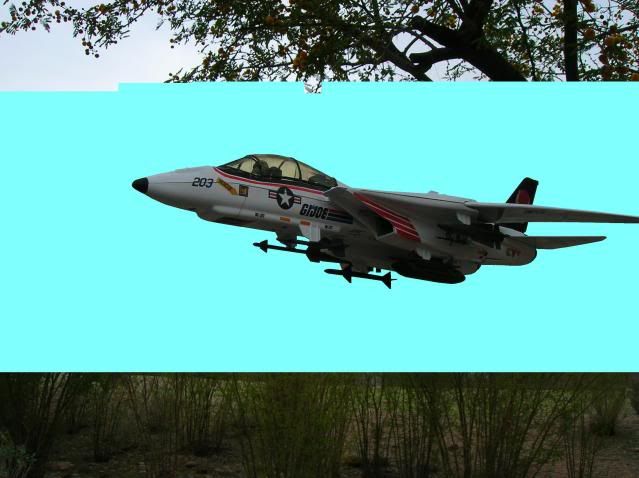
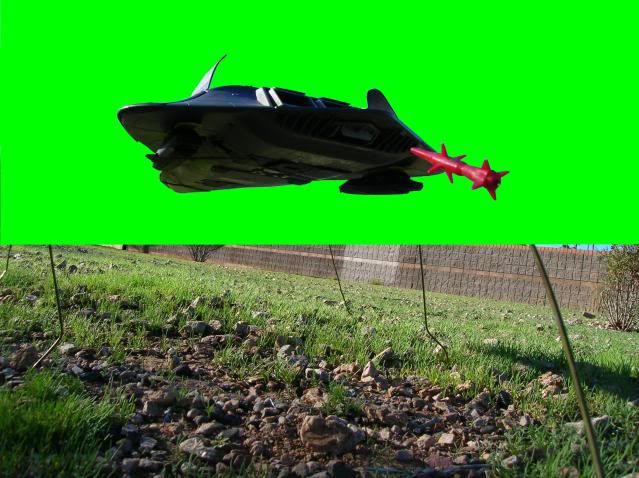
Going back to the shot of my Skystriker hanging by a string in the tree, I will trace the plane in a colour that contrasts with the colour of the plane and make it a wide area around the plane that is this different colour. The reason for this is so that when I do trace the plane with the editing program's cutting tool, the edges are easier to find. Most editing programs nowadays even have a smart selector where you can just run the cursor along the edge of what ever it is you want to cut out and it automatically finds the edges for you. If the colour of the back ground and the colour of the subject are too close, the smart selector will have a hard time finding the edge.


Now that you've got your plane cut out form the picture, you need to add a back ground to it. Here's where I've seen a lot of good pictures either go great or go bad. Take the time to go to Google or other search engines and look for back grounds of the sky, of mountains, of the ocean, of any and every landscape. Try to find some with differing light conditions, different times of day for different shadow angles. Choose some looking up into the sky from the ground, some looking down from the sky to the ground. I have a whole library of back ground images. Find what ever background you're looking for. Try to find one of a sufficient pixel size as well; the larger the better, that way your picture will look better.