|
||||||||||||||||||
Painting a brawler |

|
|
|
#1 |
|
Senior Member
Offline Posts: 156
 -->
-->
Join Date: Dec 2007
|
Well here's a qwik little how to on how I painted the Brawler or more generally, how I paint all my vehicle in general.
Here is the paints I used 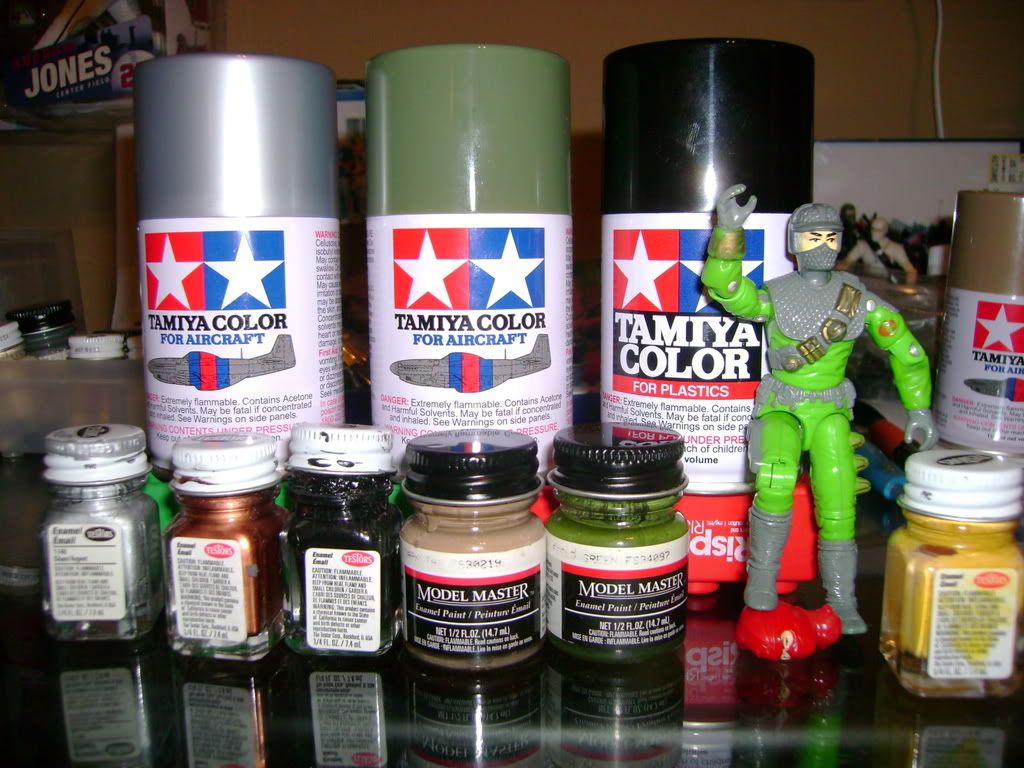 The next step it to crack that ugly piece of plastic apart. Start with the treads, there are to tabs near the back of the treads, pop those threw, I used a flat head, and then the treads are half off, then the front clips can just be pulled through. Once those are off the cab can easily be pulled down from underneath. Pull hard, away from the vehicle and the missle arms will free, pullt up on the barrel of the tank and it will pop out. I pulled hard as hell, You can;t really break this piece. pull out all the werid little missile things and your almost ready to paint. |

|

|
|
|
#2 |
|
That Light Dude
Offline Posts: 4,845
 -->
-->
Join Date: Sep 2007
|
ok well rachel didn;t log off my computer, anywho, back to the how to
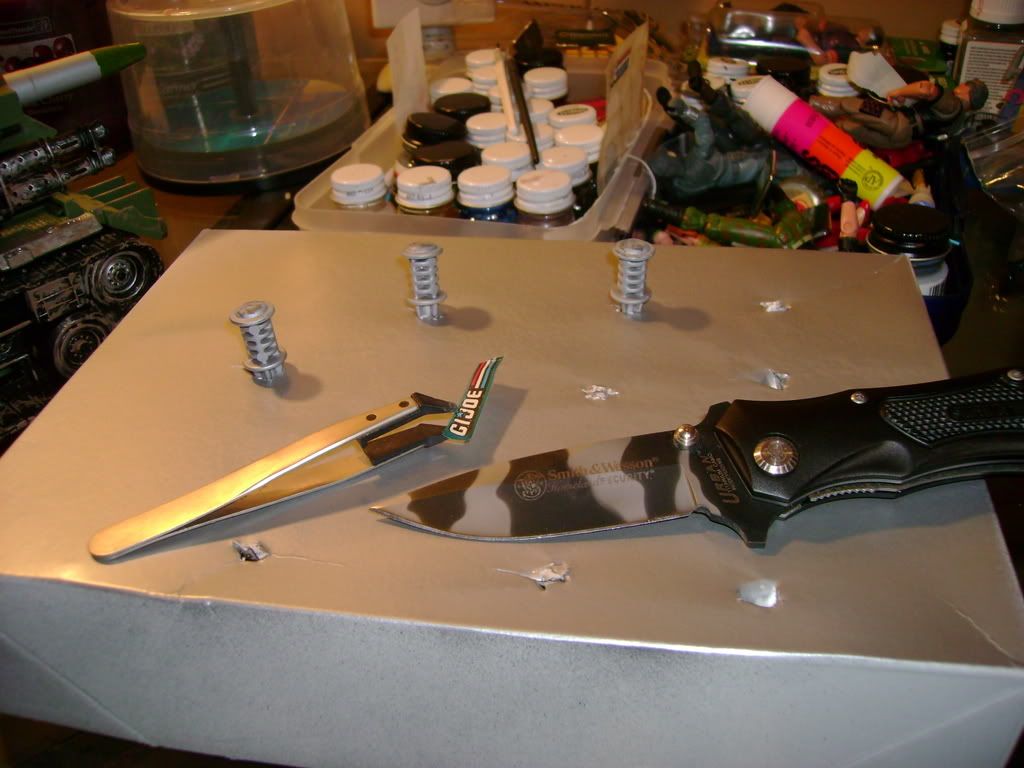 When it comes to the stickers, I use my knife to pry up the corners, and then the tweezers to pull them off. Go slow but keep tension, and 3 out of 5 times the sticker is reusable with a little superglue  The white box I cut a slit with my knife and then poked all the small missles threw so you could spray paint them from all sides at once.
__________________
All my customs in one place....Da Talent's Customs |

|

|
|
|
#3 |
|
That Light Dude
Offline Posts: 4,845
 -->
-->
Join Date: Sep 2007
|
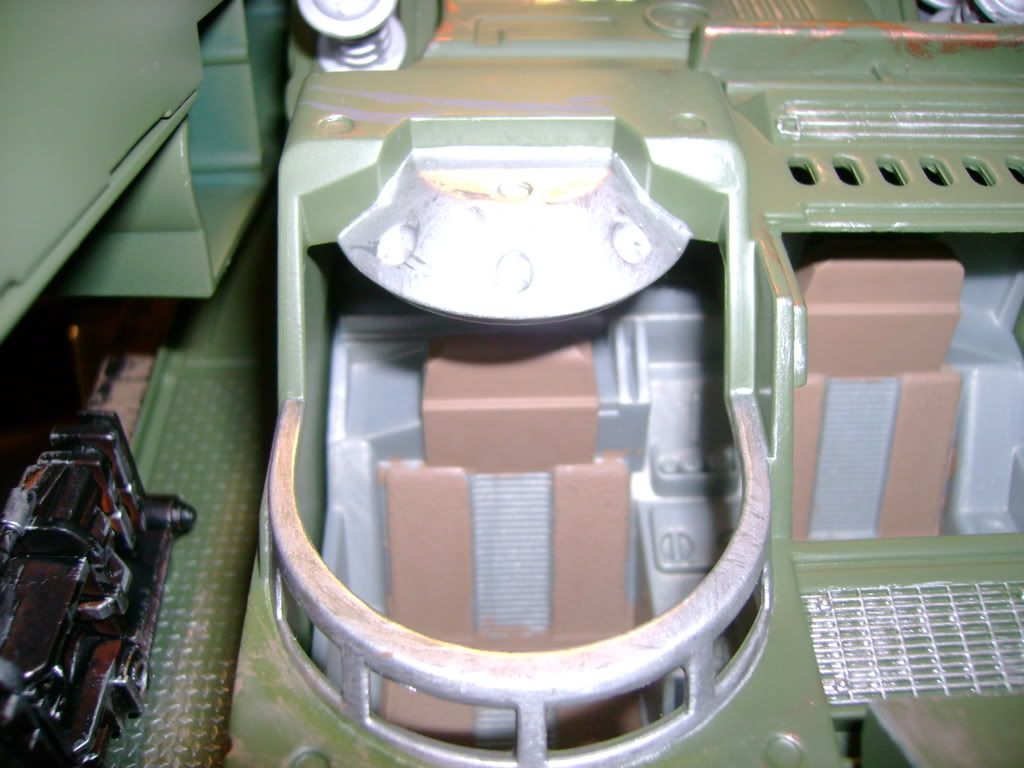
I sprayed everything out in my garage and sprayed the colors as wanted, and let everything dry for a day. While I waited I painted the cab of the tank, just the seats bc nothing else is really visible. Once the tank was dry I painted any features I wanted to highlight, there really wasn't much on this one, I did the cab roof, and a few accents
__________________
All my customs in one place....Da Talent's Customs |

|

|
|
|
#4 |
|
That Light Dude
Offline Posts: 4,845
 -->
-->
Join Date: Sep 2007
|
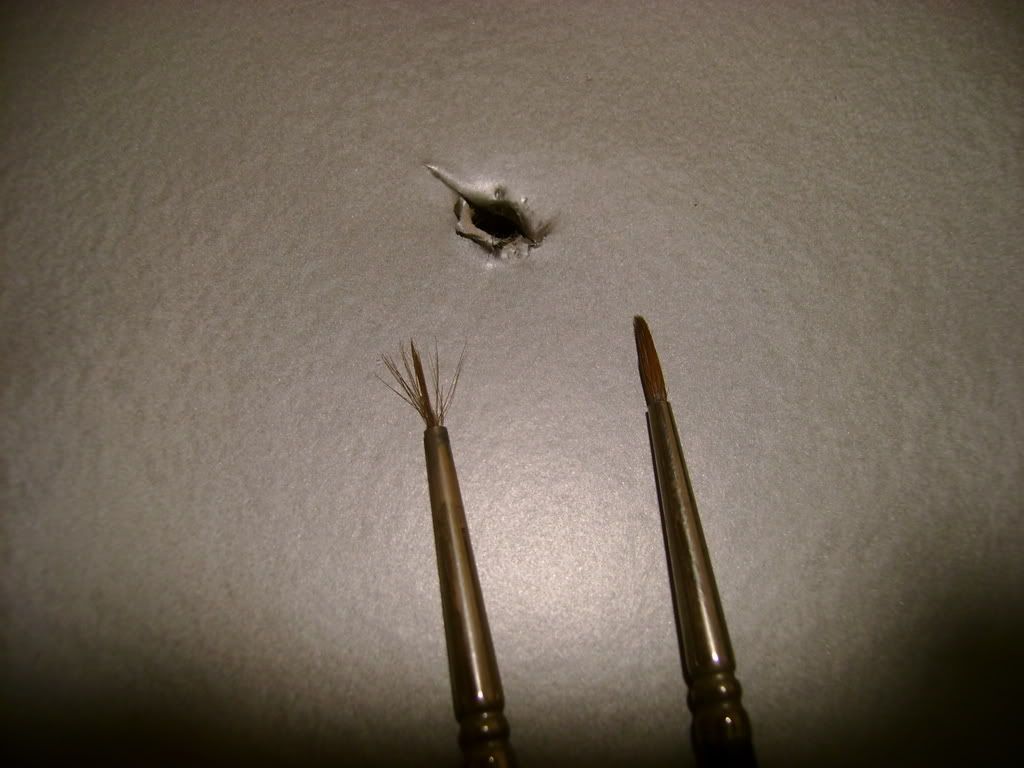
next assemble the vehicle back together. Its time to weather. what I use is a a older brush that I pulled alittle more than half the hairs out off. It won't hold as much paint as well and is perfect for weathering
__________________
All my customs in one place....Da Talent's Customs Last edited by fireflyed : 12-15-2007 at 09:07 PM. |

|

|
|
|
#5 |
|
That Light Dude
Offline Posts: 4,845
 -->
-->
Join Date: Sep 2007
|
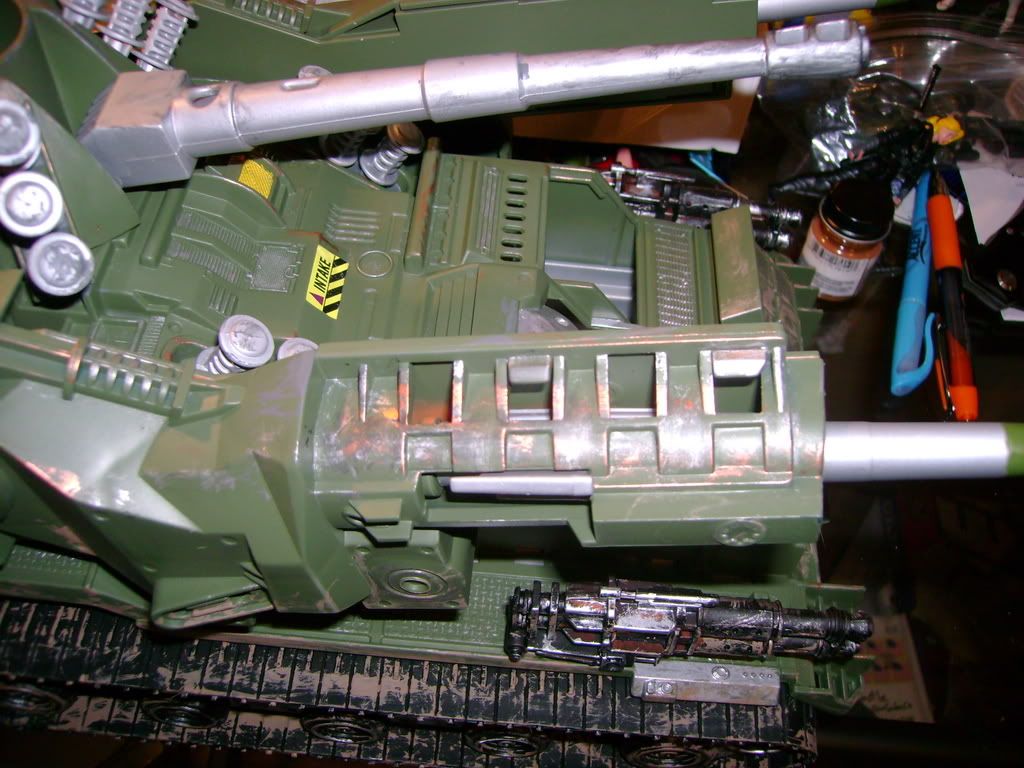
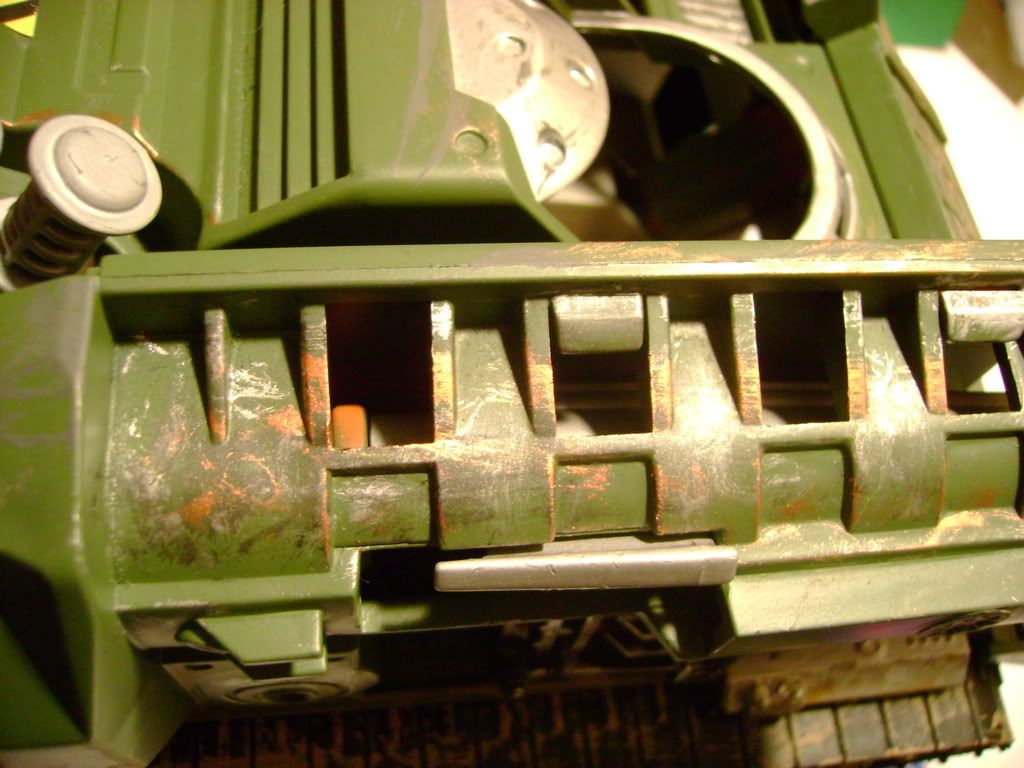
start with the rust, I used copper color to lighitly do a few high wear places that might get exposed
__________________
All my customs in one place....Da Talent's Customs |

|

|
|
|
#6 |
|
That Light Dude
Offline Posts: 4,845
 -->
-->
Join Date: Sep 2007
|
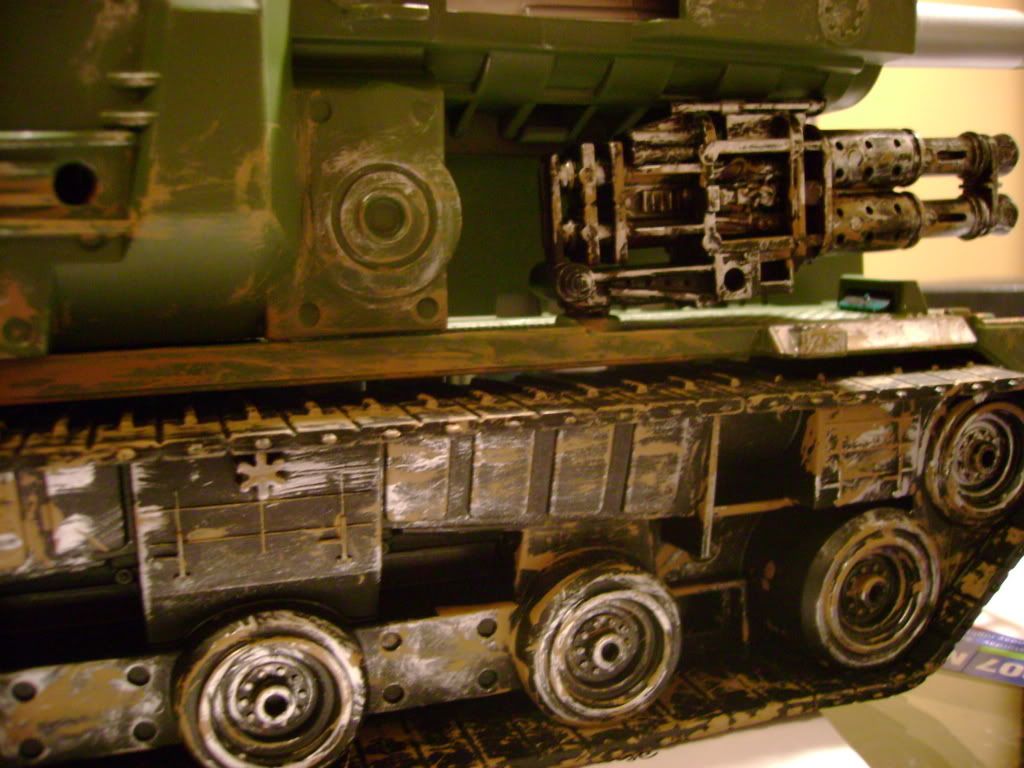
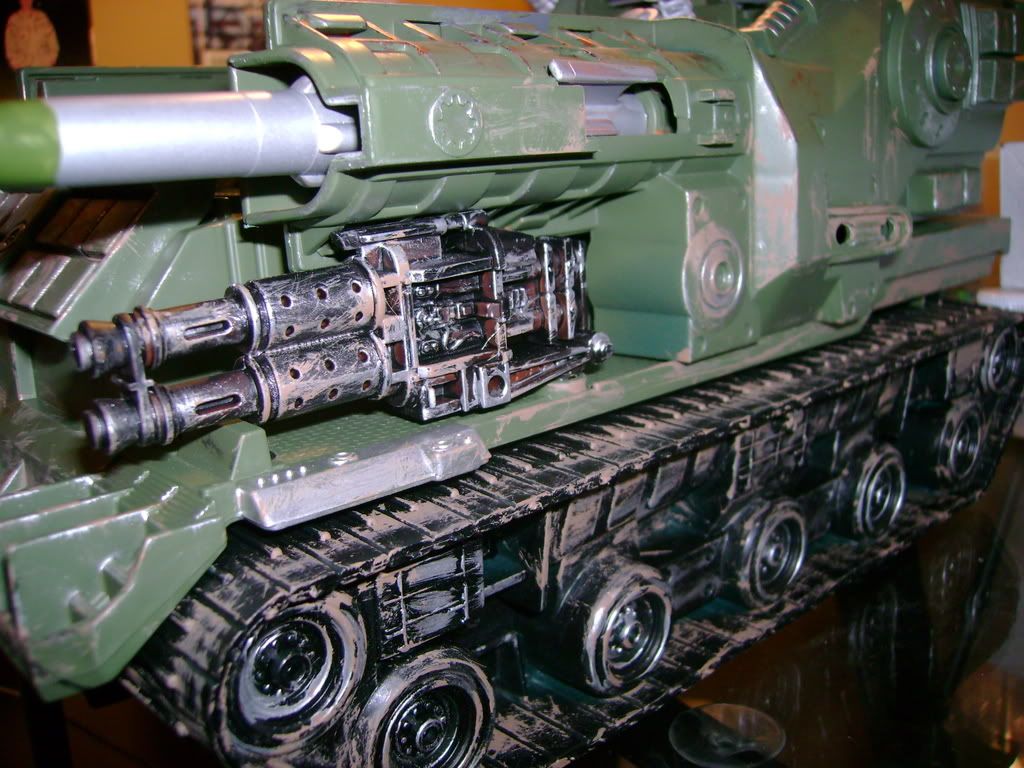
next do the silver where the paint would get scraped off, I pour the paint on to newspaper, I don;t deep bc that might leave to much paint on the brush when you want it to look light. After your done with the silver let it dry and then follow it all up with the brown for mud put it low, I used alot bc mine is used in the jungle
__________________
All my customs in one place....Da Talent's Customs |

|

|
|
|
#7 |
|
That Light Dude
Offline Posts: 4,845
 -->
-->
Join Date: Sep 2007
|
After its all dry, Apply the stickers you want to use back on, I use a little dab of super glue and bingo, a new tank
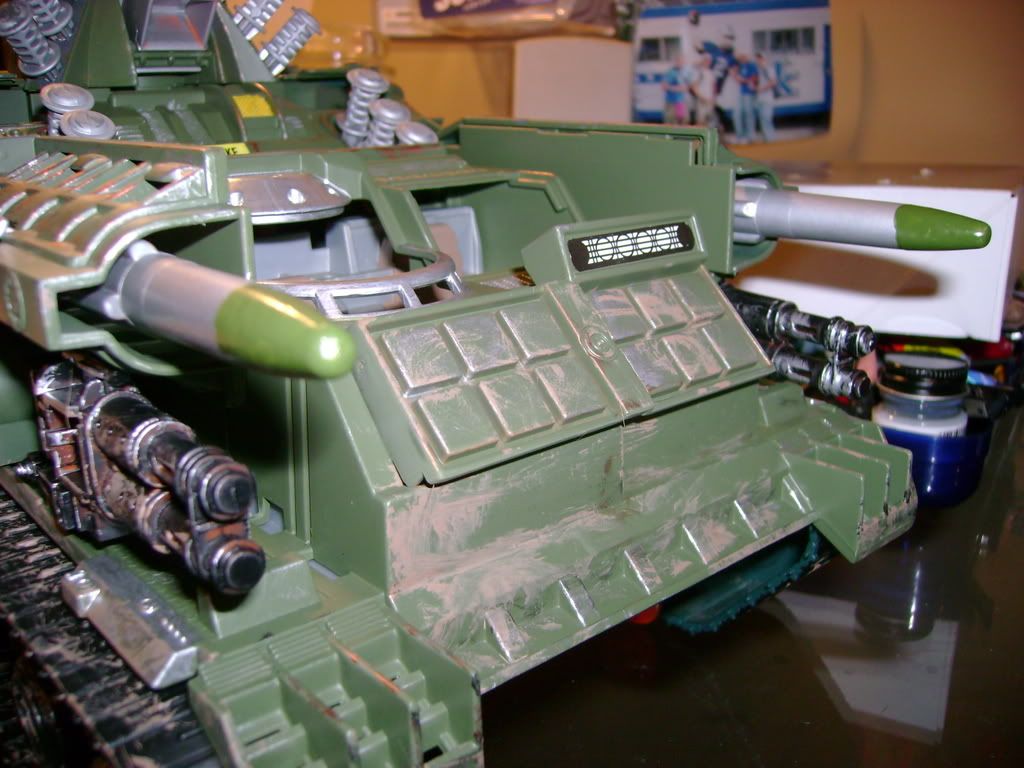 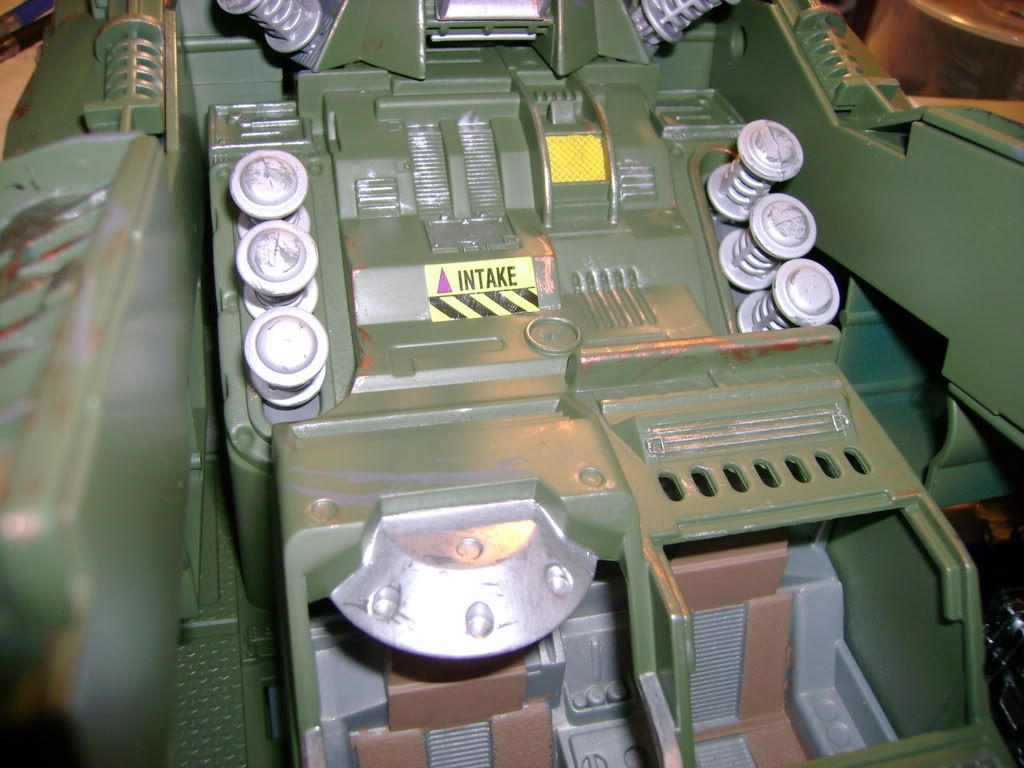 just take your time, this thing took me a week, but it was fun!
__________________
All my customs in one place....Da Talent's Customs |

|

|
|
|
#8 |
|
Veteran
Offline Posts: 3,665
 -->
-->
Join Date: Dec 2005
|
Sweet....Looks Awesome! I'd like to see what you can do with a Earthquake!
|

|

|
|
|
#9 |
|
181st fighter pilot
Offline Posts: 1,250
 -->
-->
Join Date: Jun 2007
|
awsome tutorial you make it seem so easy!!

__________________
 got to get tough JOHIO!!!!!! |

|

|
|
|
#10 | |
|
Senior Member
Offline Posts: 156
 -->
-->
Join Date: Dec 2007
|
Quote:
hehehe! thats funny, I got him one off ebay for christmas! |
|

|
 |
«
Previous Thread
|
Next Thread
»
| Thread Tools | |
| Display Modes | |
|
|
Powered by: vBulletin Version 3.0.6
Copyright ©2000 - 2024, Jelsoft Enterprises Ltd.
Style Design By: vBStyles.com
Copyright ©2000 - 2024, Jelsoft Enterprises Ltd.
Style Design By: vBStyles.com


 Linear Mode

